Question:
any one know source for 7G programming and scn coding by vin number, i use vediamo .
It uses VGS then i need to make it virgin before doing any coding and programming.
I heard vediamo can make it virgin for vgs2. Could you explain how you virginize VGS2 via vediamo ?
Solution:
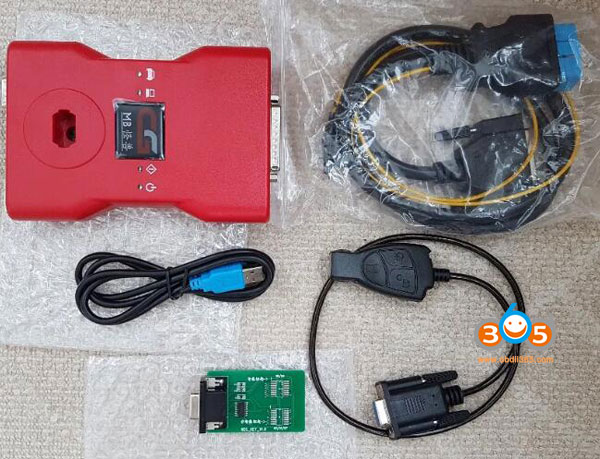
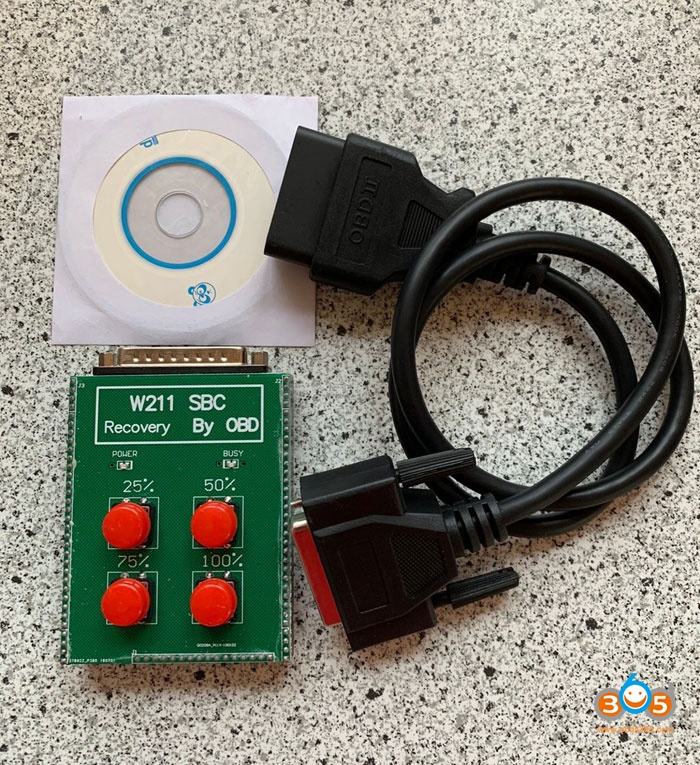
Device required:
Vediamo 04.02.02 and MB Star C3 chinese MUX or
Vediamo 05.00.05 and chinese SD Connect C4
Modified CBF file with according script file (google search for CBF file)
Vediamo 04.02.02 and MB Star C3 chinese MUX or
Vediamo 05.00.05 and chinese SD Connect C4
Modified CBF file with according script file (google search for CBF file)
Method:
works on bench and OBD2 connector.
works on bench and OBD2 connector.
Procedure:
For example: TCU’s with part number A 033 545 73 32
To play with it, just copy VGSmod2.cbf into directory, in which you keep all your cbf. files.
Usually per default it should be: C:\Documents and Settings\All Users\Application Data\Vediamo\VediamoData.
Than open Vediamo, choose the VGSmod2.cbf and load it. In this moment a new subdirectory named “VGSmod2” should be created in ..\VediamoData.
Copy unpacked VGS2-Virgin.xml script into this subdirectory. Now preparation is finished.
To erase personalisation keys from 7G-Tronic VGS2 just establish connection to TCU, go to Sequences, press Execute Sequence (not OPEN, just EXECUTE!) , choose and start VGS2-Virgin.xml and follow the steps.


Note:
You are at you risk.
Once TCU is virgin (some areas of EEPROM memory are erased) it must be prepared to be used in next car. Depending of software version and EEPROM memory layout, virginising can (but not always have to) erase also VIN, CALID, Shift lever learning values or SCN. All this need to be performed after reusing TCU on different car.
THERE IS NO NEED TO PERSONALIZE AND ACTIVATE your TCU to make it work.
This 722.9 VGS units will work well even without performing that steps. All VGS (Gen 1,2,3) using FBS3 immobiliser system will activate and personalize automatically after 300 ignition cycles. No additional actions are needed. To use your virginized TCU on any Mercedes 722.9 Gearbox, you need to be sure than actual software version fit this car (VIN) with this valve body (EHS number) and Coding is equal to destination car equipment. If software version is not right, some codings can be refused. It is always recommended to reflash the unit after virginizing to restore its EEPROM layout and perform software update.


 RSS Feed
