The goal of the tutorial is to clarify the possibility/potential of the OBDSTAR X300 DP Plus so that makes it in addition to being a key programmer through the software, but he can do the job.
Purpose:
Recover Toyota 2016 24C16 ECU Immo data
What you need:
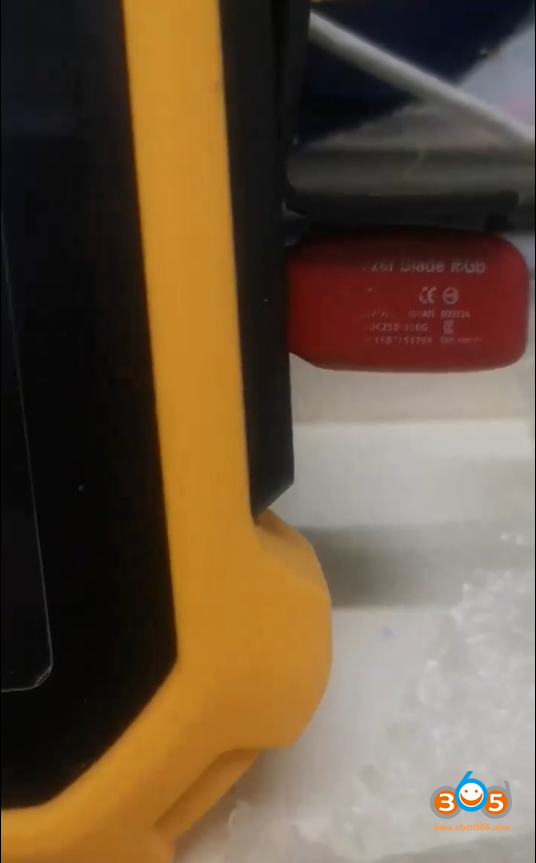
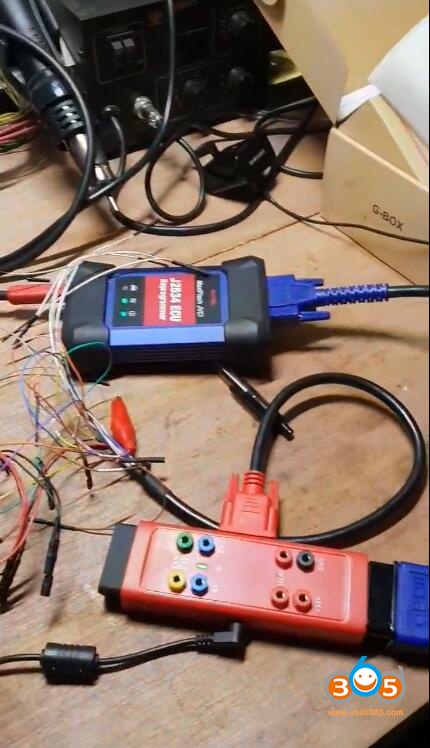
OBDSTAR X300 DP Plus tablet (with P001 and EEPROM adapter)
External storage device (a USB Card)
Instruction:
Connect P001 with EEPROM adapter, insert USB disk to X300DP plus, then connect P001 with X300DP

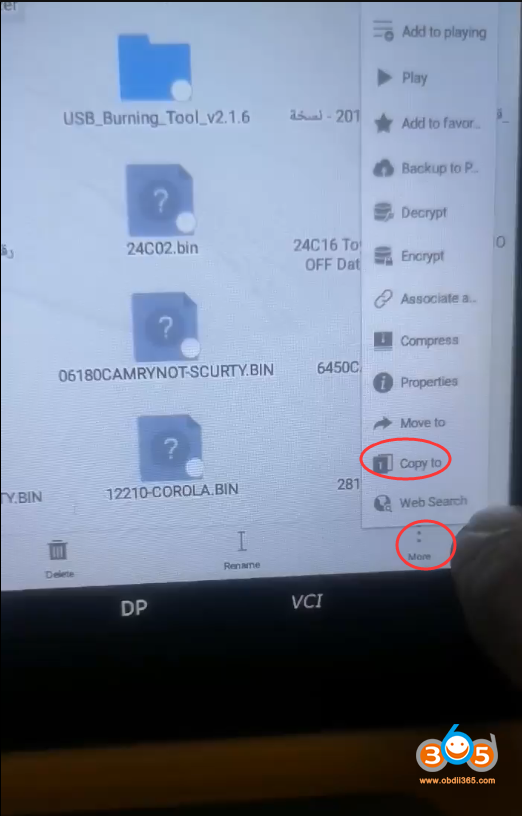
Go to X300 DP Plus Home menu->ES File Explorer->SD Card


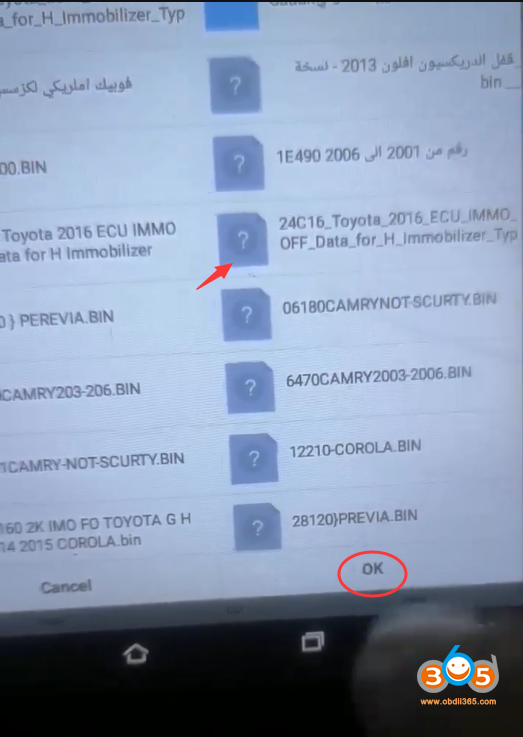
Long press the data (here 24C16_Toyota_2016_ECU_IMMO_OFF_Data_for_H_Immobilier) you need to recover and copy it to “/Storage.emulated/0/DP/951400041740/DATA”


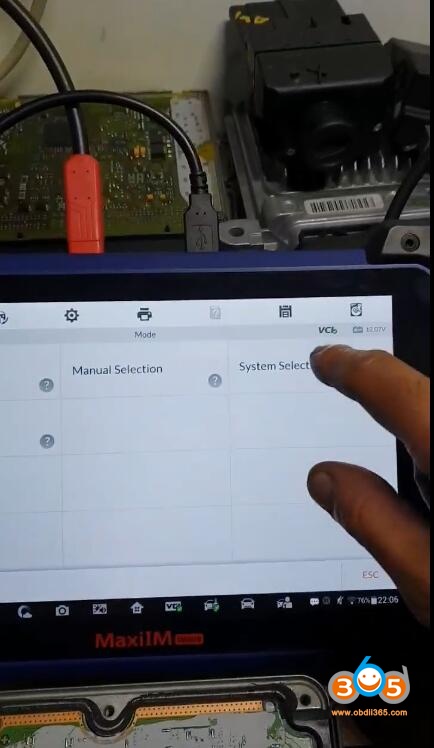
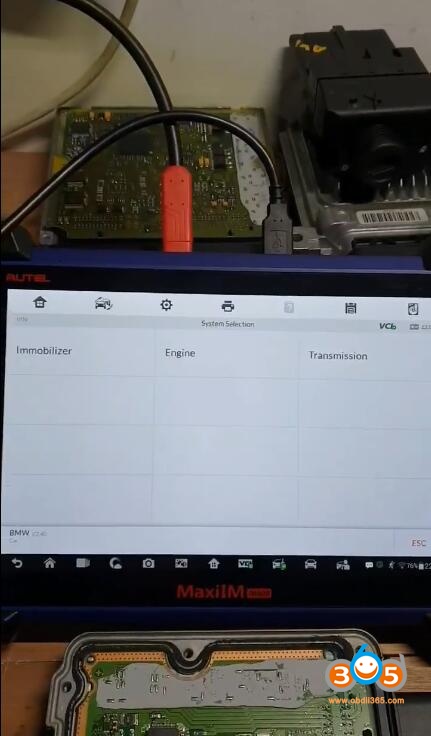
Select EEPROM function in X300DP Plus

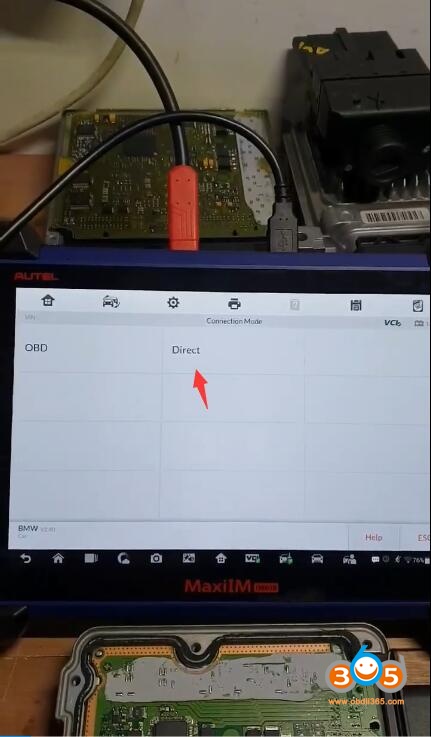
Select PIC/FreeScale adapter V34.06->EEPROM->EEPROM RW (Read/Write)->24CXX Series->24C16


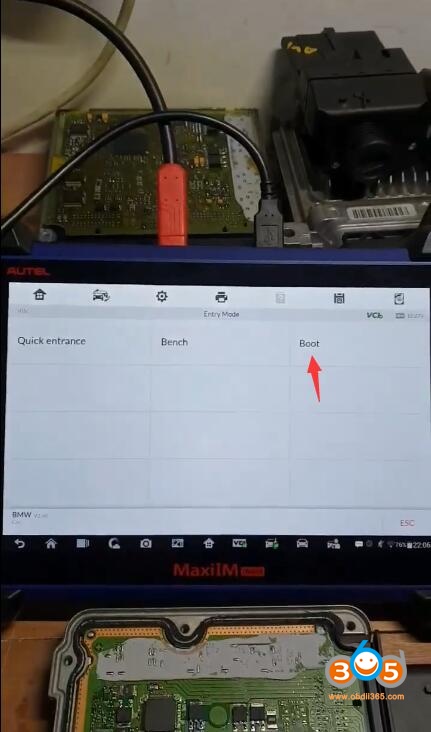
Make sure P001 adapter has connected with X300DP Plus
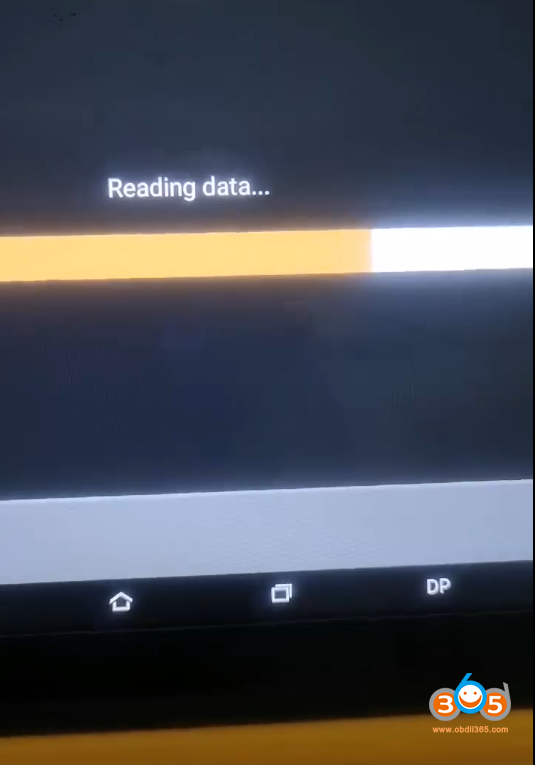
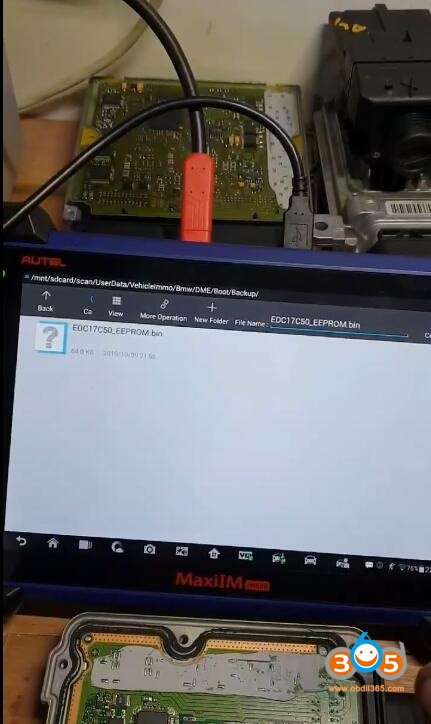
Reading EEPROM data in process

Save data as bin file

Press Help button to perform data recovery

Select the file desired to restore from /Storage.emulated/0/DP/951400041740/DATA” folder
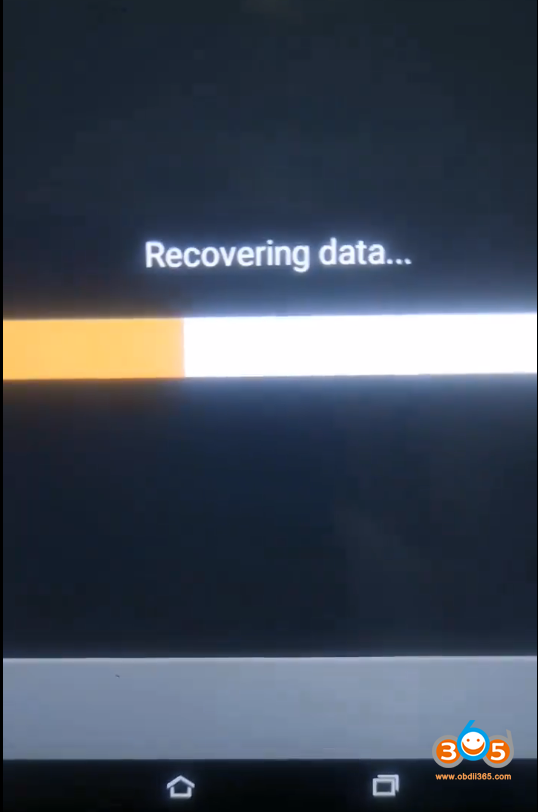
Recovering data in process
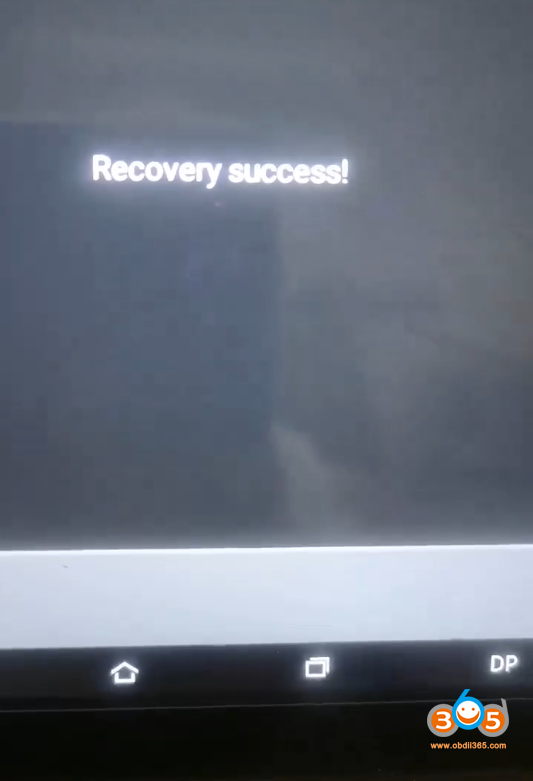
IMMO data recovery success.
Now you can rewrite recovered data to immobilizer to repair ECU.
Hope it helps.


 RSS Feed
