|
Motorcycle: BMW HP4 2014 with ID46 chip

Tools required: Ktag and BDM probe Key Programmer TMPro2 Procedure: Step 1: Read ECU data 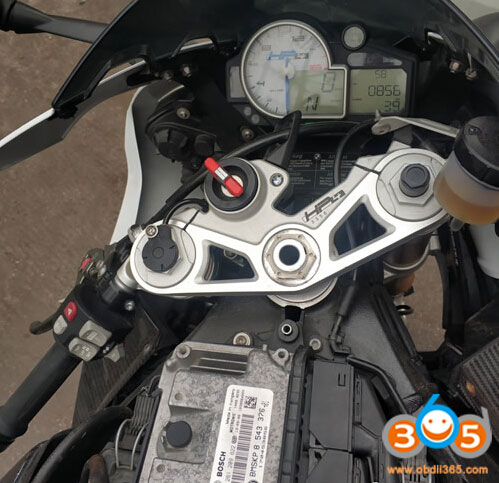
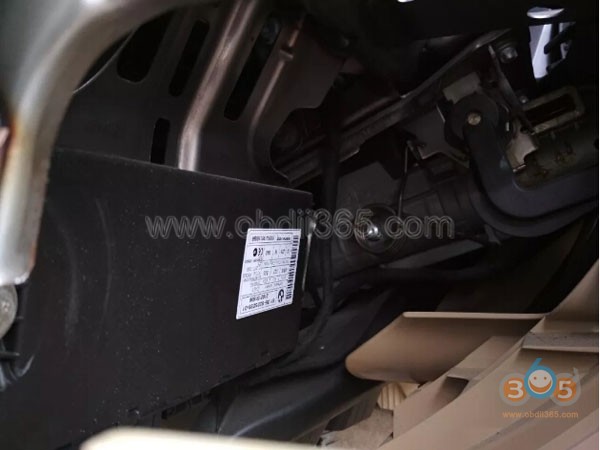
Remove ECU near the tank 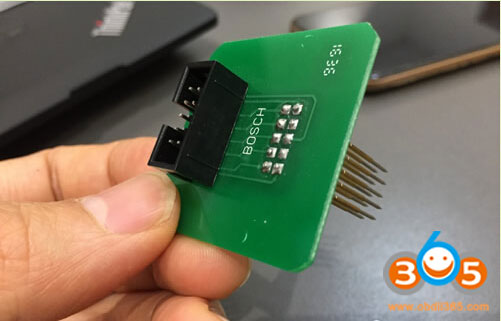
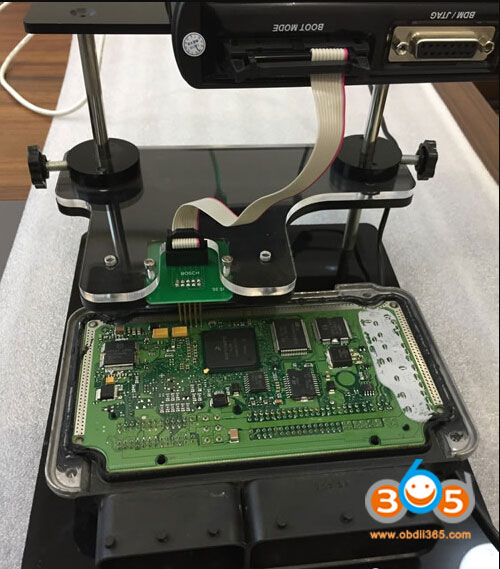
Remove the back case of the ECU and connect it with Ktag via Bosch BDM probe in boot mode 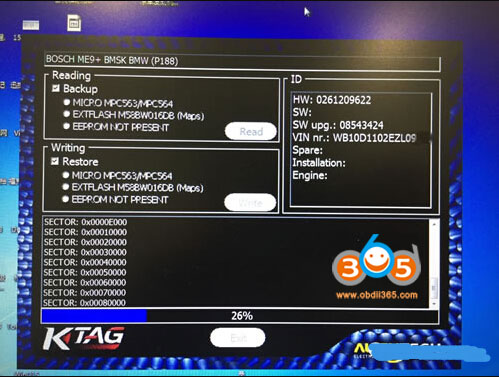
Select BMW Motorcycle Bosch ME9+ BMSK P188 
Save dump, including 3 files dump zip, b.FLS and b.MPC CPU data Step 2: Write Key You can write key with VVDI2, Tango or TMPro2. Here is the example of TMpro. Need to purchase BMW 109 bikes engine ECU Bosch module license. 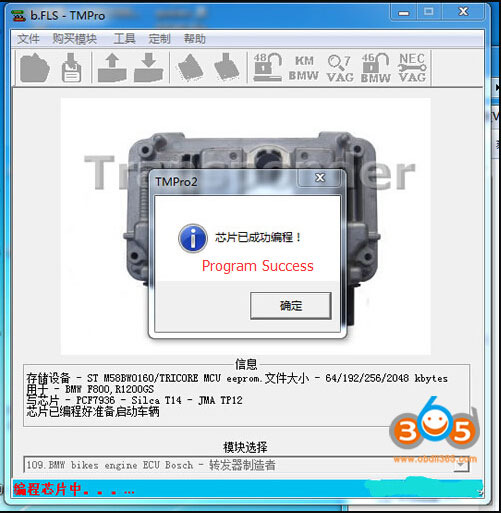
Upload b.FLS (M58BW016DB data) read by Ktag Program chip key success. Insert a brand ne PCF7936 chip into TM Pro2 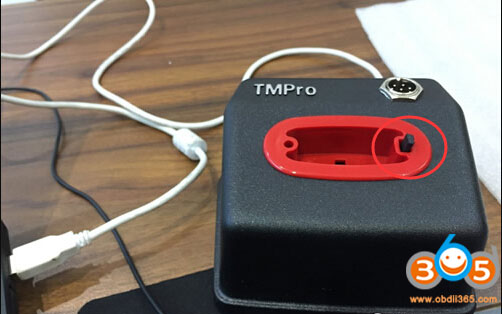
Press Write Key until success TMPro2 support all data formats. You don't need to modify data, i.e FLS format file read by ktag. Directly upload to TMpro and write key. If you choose VVDI2, you have to modify file as BIN format. Otherwise it will fail to write key. Reinstall ECU back to BMW motor. 
Test the new chip key. www.obdii365.com
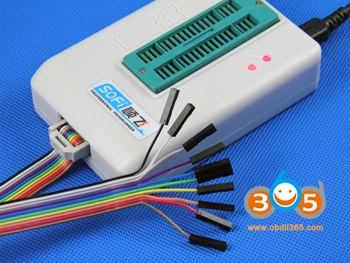
Look here: SOFi SP8-F universal programmer is good at online and offline programming.
High-speed programming: Confirmed!
Online programming(ISP) : Confirmed!
Online/offline high-speed mass production: Confirmed!
sp8-f universal programmer price
sofi sp8-f programmer software download SOFi SP8-F programming test on Volvo XC90
in detail…
High-speed programming: Confirmed!
● SP8 is currently the programmers with the highest programming speed in the industry, even quicker than general programmers and similar special programmers which cost over 1000 RMB.
(Take 8M-bit EN25T80 as an example, SP8-A: read-1.24S, write-5.44S; Superpro 580U: read-4.15S, write-9.31S) ● Through built-in high-speed processors and special hardware design, SP8 realizes high-speed and reliable programming, especially for serial FLASH and EEPROM. ● Arithmetic optimizations for different chips
Attachment: time to read and write some chips
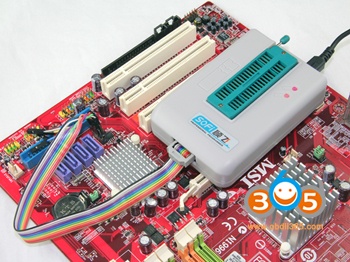
Online programming(ISP) : Confirmed!
SP8-F has an ISP interface and a download cable with 10-color single DuPont heads
Uses the ISP download function of SP8 to upgrade online main-board BIOS
Online/offline high-speed mass production: Confirmed!
Both SP8-B and SP8-F support online high-speed mass production, but only SP8-F has the function of offline mass production, which is very applicable to mass programming memories and thus saves much costs for equipment purchase and labor. Note: SP8-A does not have the function of mass production, and applies only to researchers and maintenance personnel.
Online mass production programming by SP8-B and SP8-F:
● The programmer automatically detects the position of chips, and starts the automatic programming. ● In programming, operators do not have to operate the computer, but only continuously put in and get out chips. ● You can connect several programmers to one computer for synchronous and asynchronous high-speed programming. Plug and write. No synchronous waiting. Top speed and high efficiency.
Offline mass production programming.:
● You do not have to connect it to a computer in programming, but only to the accessory 5V power adapter, and then it will automatically start the offline programming. ● Programmers have a built-in 128M memory. So no extra memory cards. ● It operates easily. Only download the offline data and you can use the device. ● It automatically detects the position of chips, starts programming, and presents programming results via state lights and the built-in buzzer. 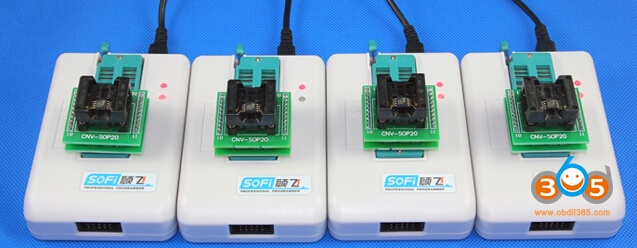
sofi sp8-f universal programmer price:
less than 100 usd
sp8-f programmer software download:
sp8-f programmer software features:
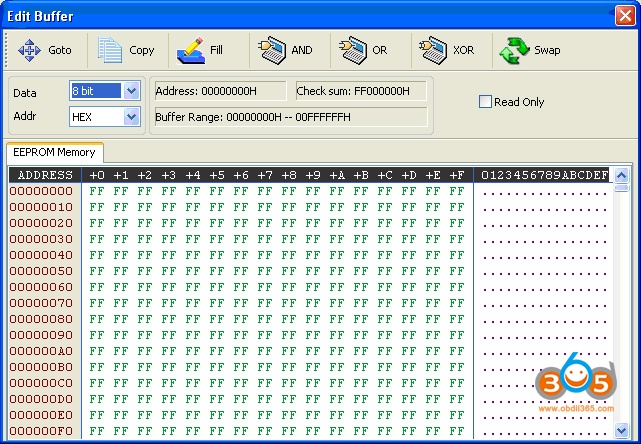
● Chinese/English interface ● Supports WinXP/Vista/Win7/Win10, and completely supports 64-bit operating systems ● Supports various file formats like binary (files with any suffix), hex, Motorola-S and TI-TEK ● Multi-functional data buffer compilation, supporting direct modification by keyboard, and copying, filling and logical operation. Supports hex and ASCII displays ● Provides chip placement mode, adapter and ISP connection diagram ● Combines manual programming and user-defined automatic programming with one key 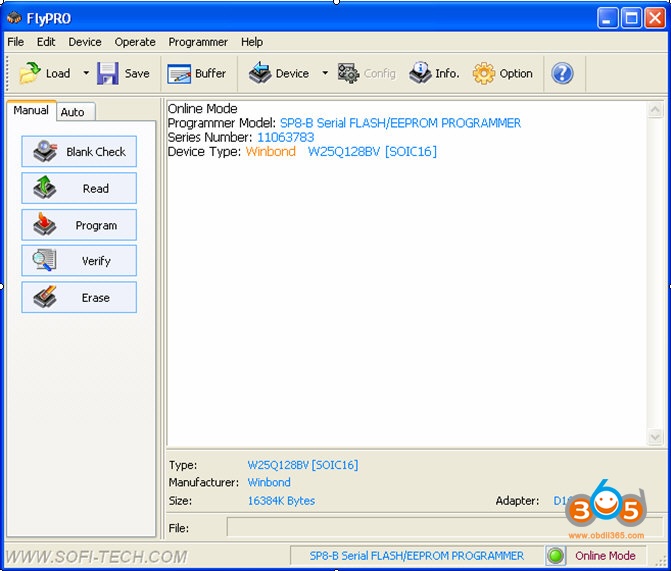
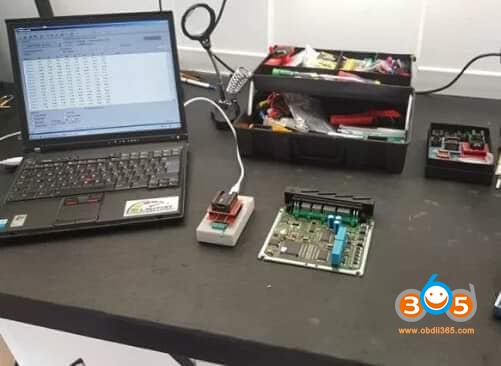
SOFi SP8-F programming test
Car: 2004 Volvo XC90 2.4VD
ECU: BOSCH EDC15C11 which had a 44pin AM29F400BT chip
Steps:
removed the chip,
placed it into our chip reader and backed up the cars map file.
the file was then adjusted for a power map.
erased the chip then wrote the new modified map file to the chip.
once the chip was wrote, prepared the ECU’s PCB and re-soldered the chip back to the board.


Here’s the step-by-step guide to register and update Foxwell NT650 AutoMaster multi-application service tool.
Preparation:
You need to get the NT650 scanner device serial number and register password.

Connect NT650 scan tool with laptop via USB cable
Got to Setup function->About

It will display Foxwell NT650 S/N and password. Write them down on the notepad.
Registration & Update Procedure:

Take out the SD card from NT 650 scanner
Insert SD card into card reader and connect it with laptop
The SD card includes 3 folders: fonts, res and Scan
Now browse official website www:foxwelltech.com, choose Product NT650.

Select Download under tha product page.
Download FoxScanner Installer v8.71 zip file

Extract the folder and install the setup
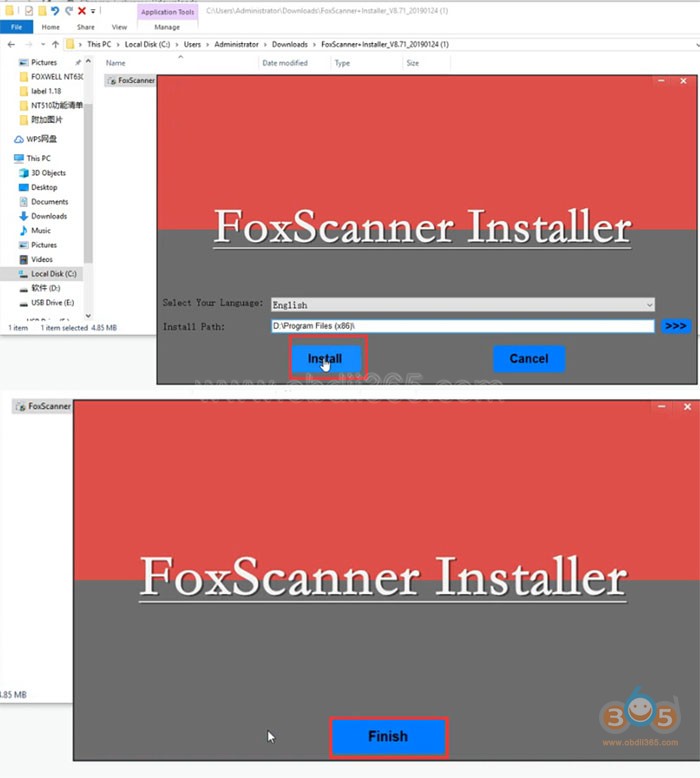
Finish setup installation

Open FoxScanner on desktop
Press Register


Enter user information (incl. name, password, email address, telephone number, country etc) and press Register

Confirm your registration email

Now sign in with email and password

No serial number associated with the user
Go to Register Product

Manually enter NT650 Foxwell Automaster serial number and password on the notepad, then Submit

Serial number registered successfully.

Login FoxScanner again
Check the available software updates

Select the software you desired to run update
You are allowed to manage software as well.
Done.
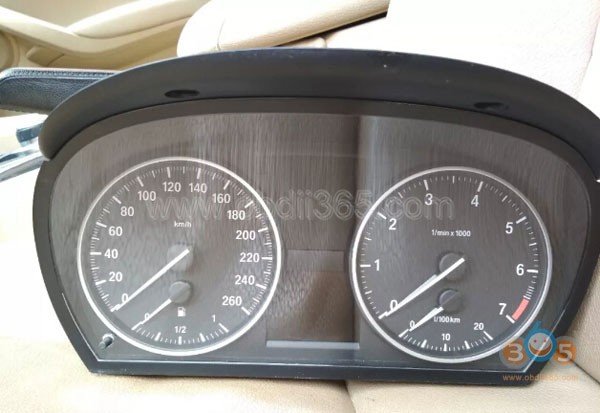
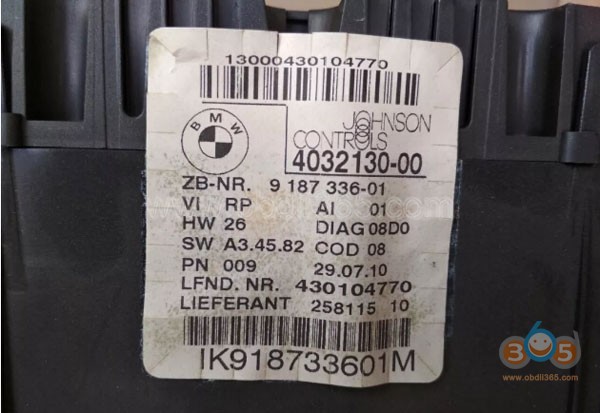
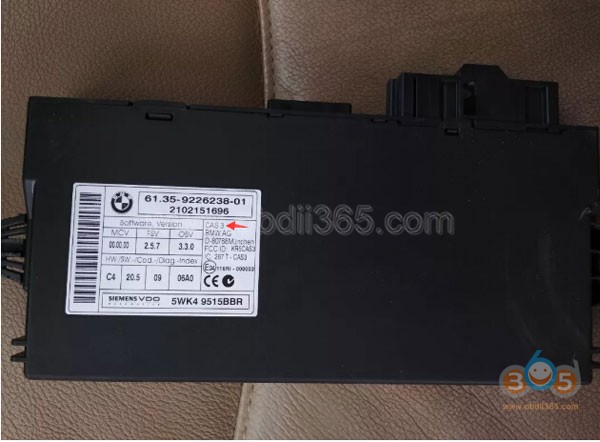
Model: BMW X1
Year: 2010
Instrument type: 35080
Immobilizer: CAS3-0L15Y
Device: CGPRO 9S12 programmer
Purpose: odometer correction


Original odometer: 191,245 km
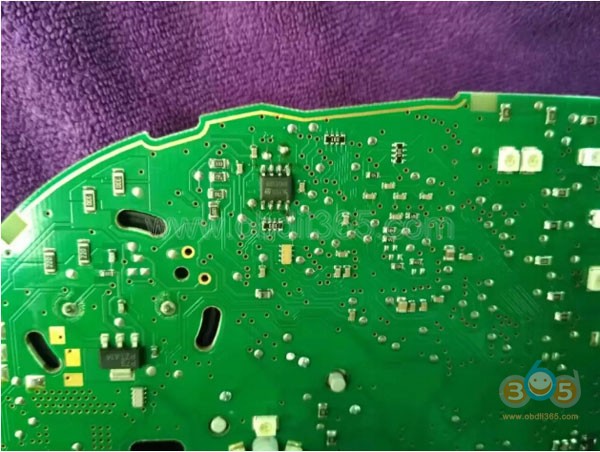
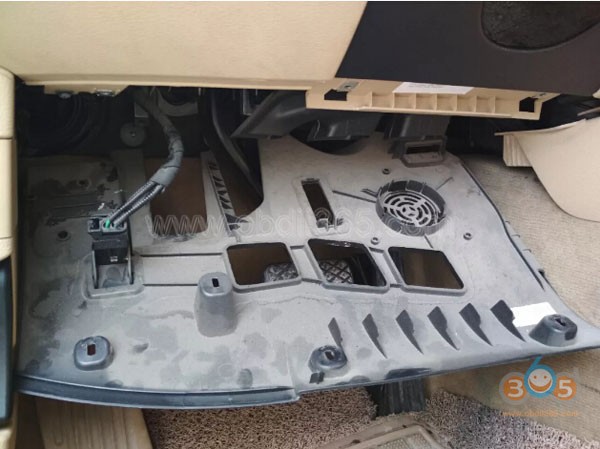
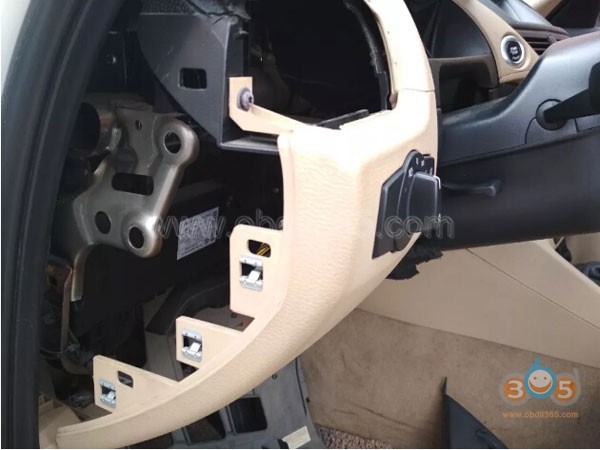
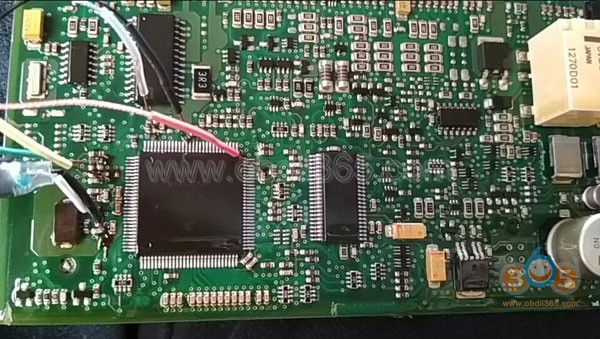
Step 1: Remove Dash
Turn off ignition. Remove and disassemble dashboard instrument


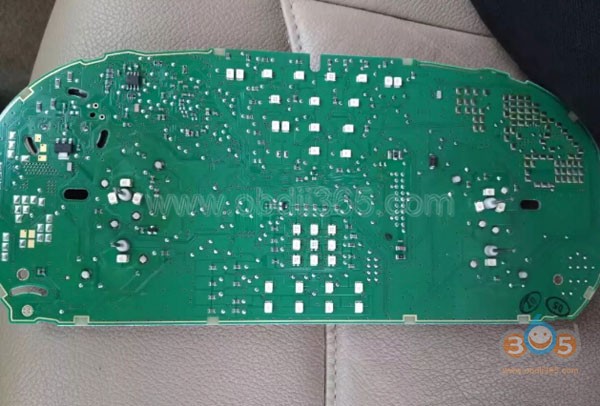
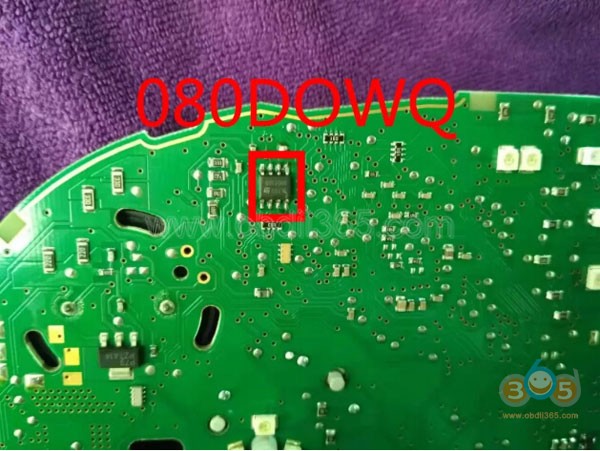
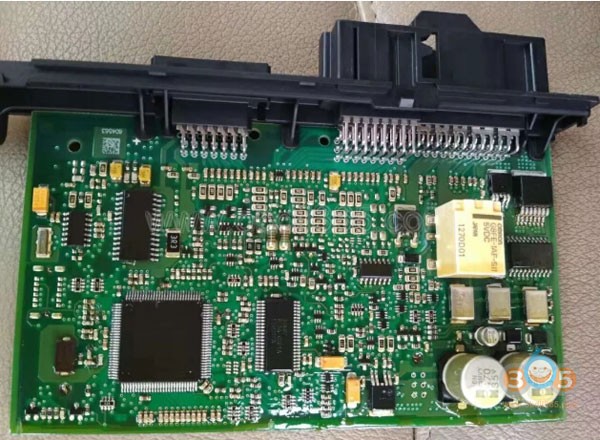
Locate chip m35080DOWQ
Step 2: Remove IMMO Box
Remove immo box CAS3-0L15Y
Step 3: Change mileage in dash
Open CGPro software
Solder 080DOWQ chip into CGPRO M35080/35160 adapter

Select Model->Adjust mileage->BMW->35080 V1 (080DQ)
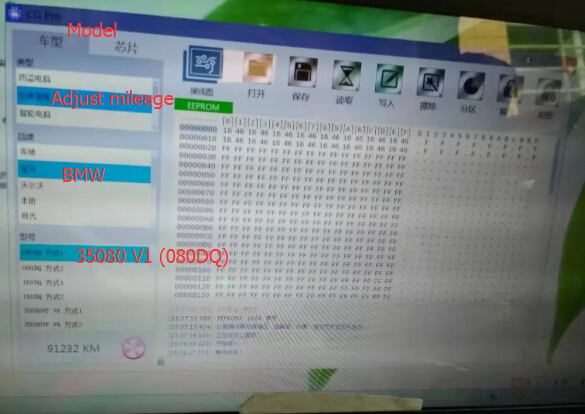
Choose Adjust mileage function icon and enter mileage you desired
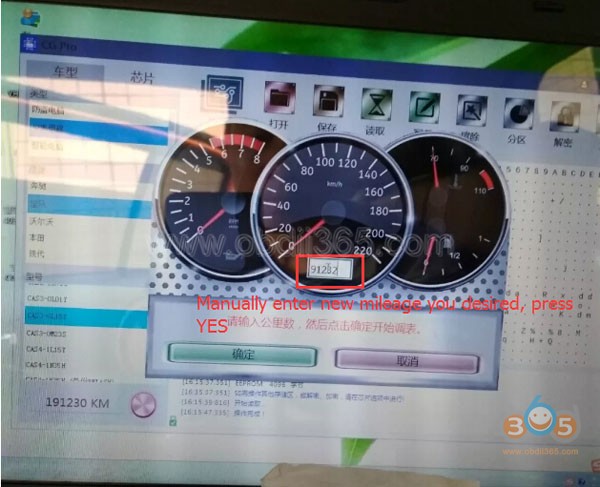
Step 4: Correct odometer in Immobilizer
Connect CAS3 0L15Y eeprom IC chip with CG-Pro DB25 connector

In CG Pro software, select Chip->Adjust mileage->BMW->CAS3 0L15Y
Manully enter new mileage you desired
Press YES to confirm
Both dash and immo mileage reset successfully. Reinstall dashboard and immo box to vehicle.
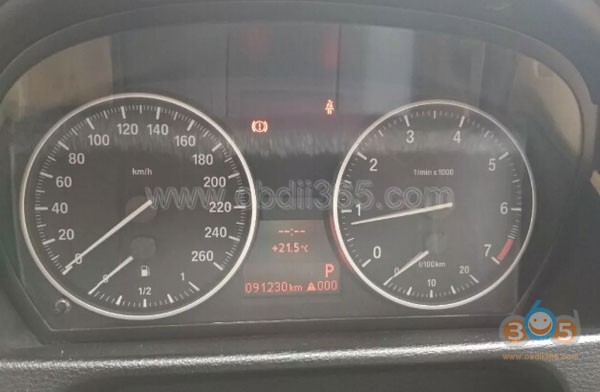
Reset fault codes or do necessary coding with CGDI BMW.
ELV AUDI MC68H908GR16 mcu read by Xprog or VVDI Prog, which is faster?
1)Read 908GR16 with Xprog
Connect ELV 908GR16 mcu with Xprog via HC(S)12 BDM adapter
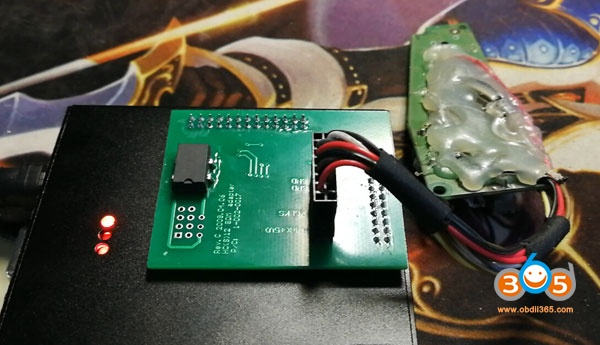
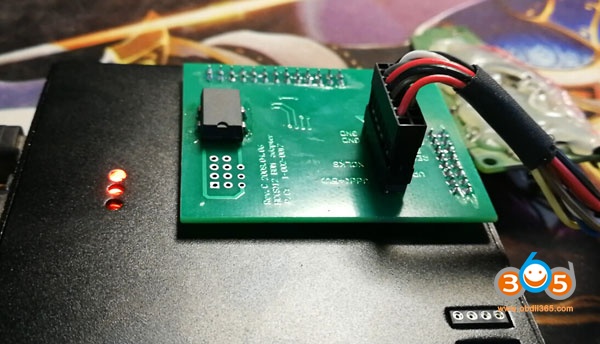
In Xprog-m software, select Freescale MCU MC68H908GR16_FLASH+ security

select Read Security Bytes
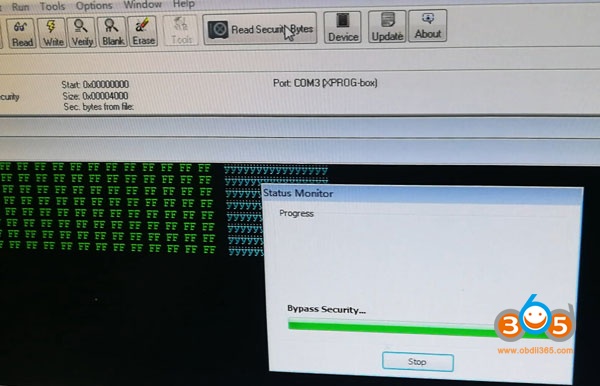
Bypass security
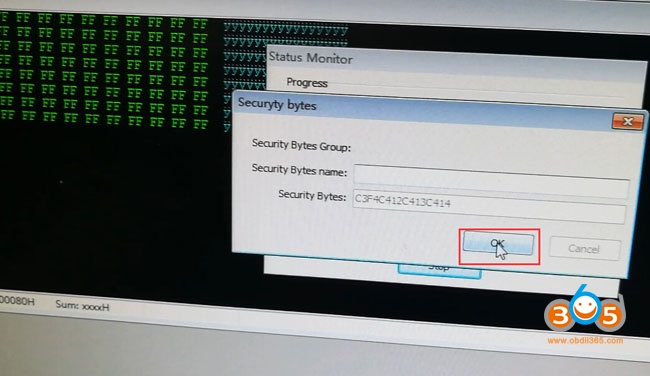
Xprog m read security byte success, press OK to continue
Go to Options tab->Environment->Device->Manual
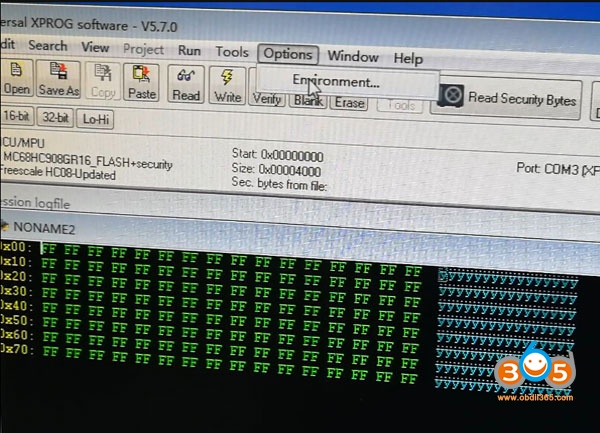
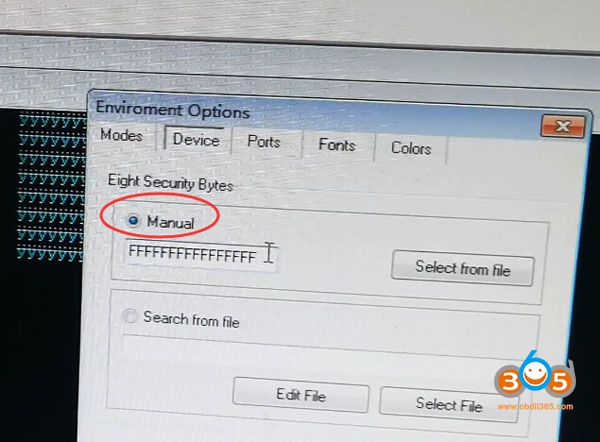
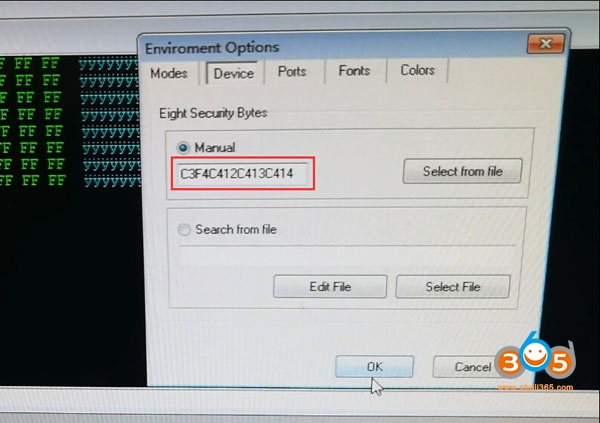
Manully enter security bytes
Read 908GR16 in process
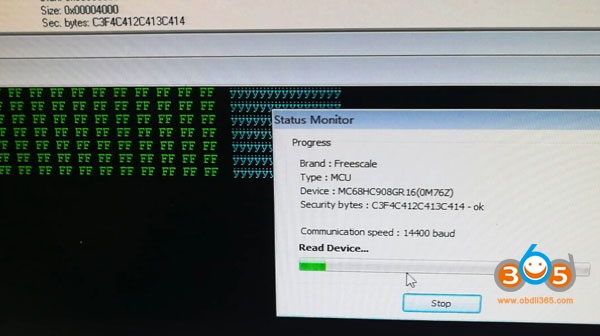
Verify device
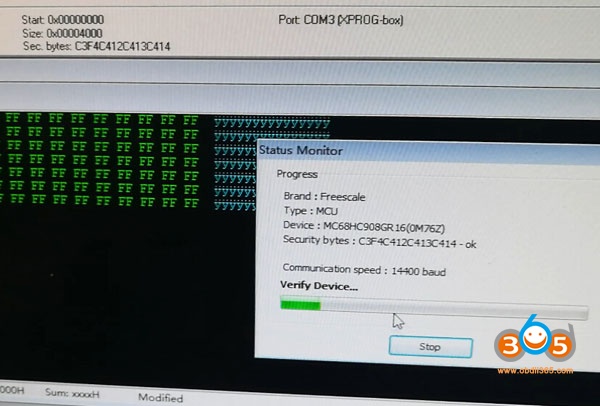
Read data success
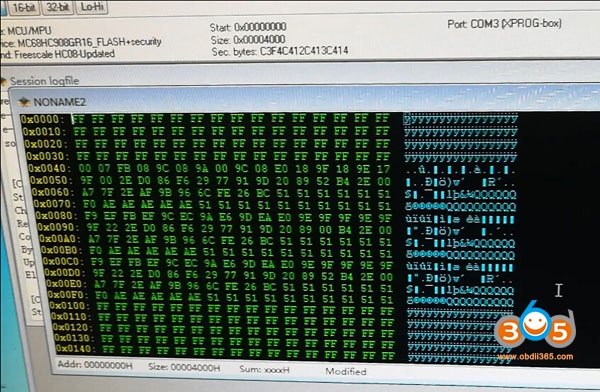
Save data.
Reading procedure takes 1 minute and 59 seconds
2) Read 908GR16 with Xhorse VVDI Prog
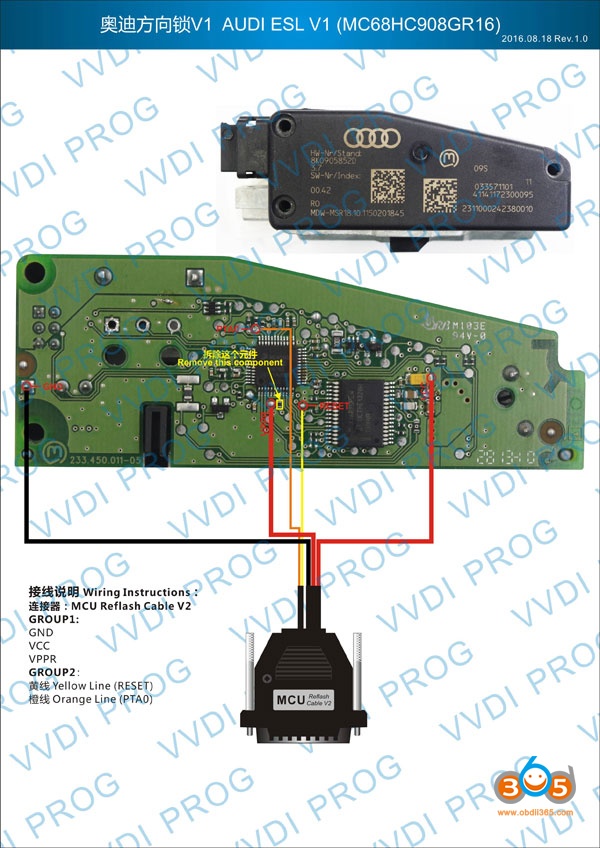
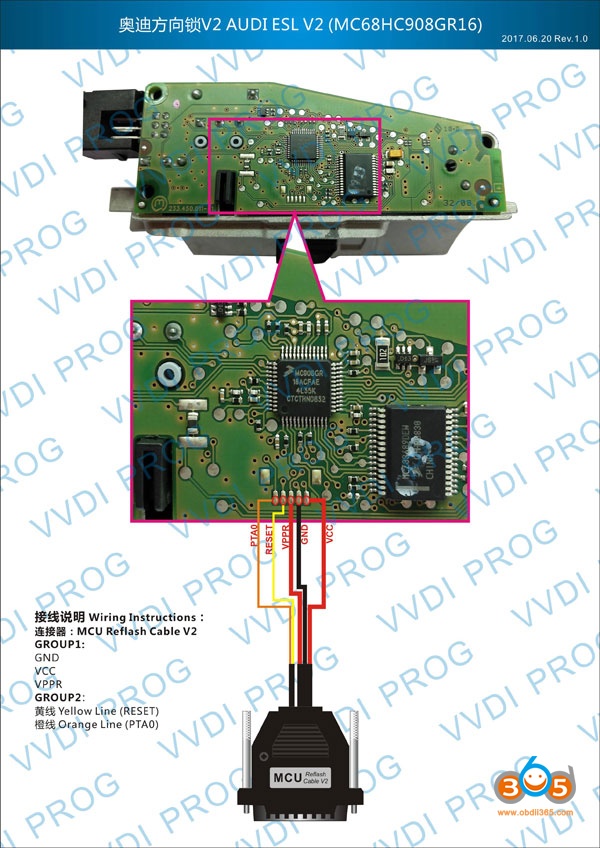
Follow wiring diagram to connect VVDI prog with ESL
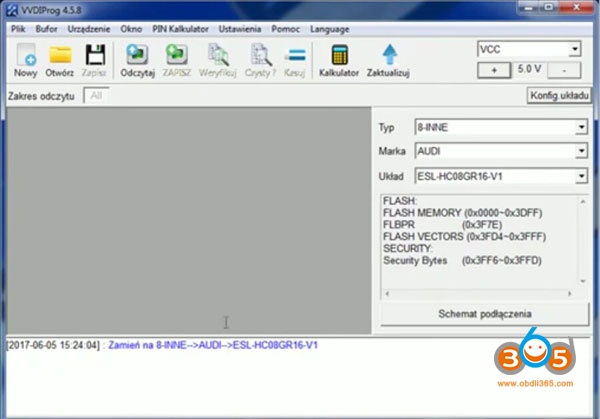
In VVDIProg software, select Audi ESL HC08GR16 V1 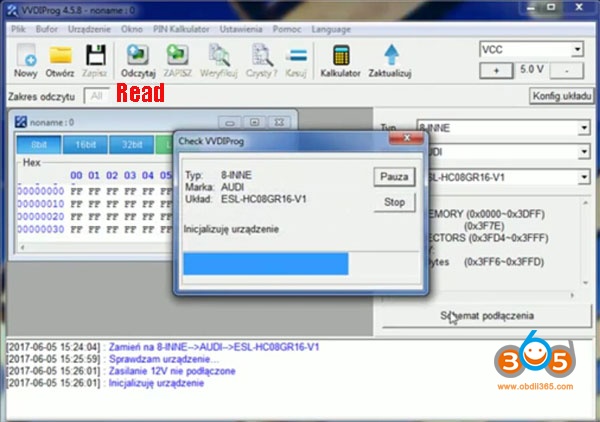
Read data 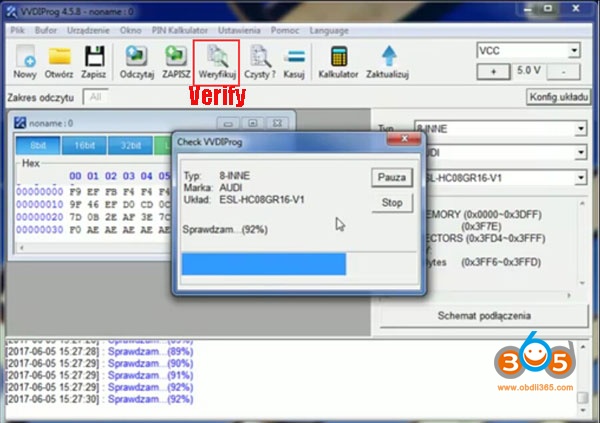
Verify data 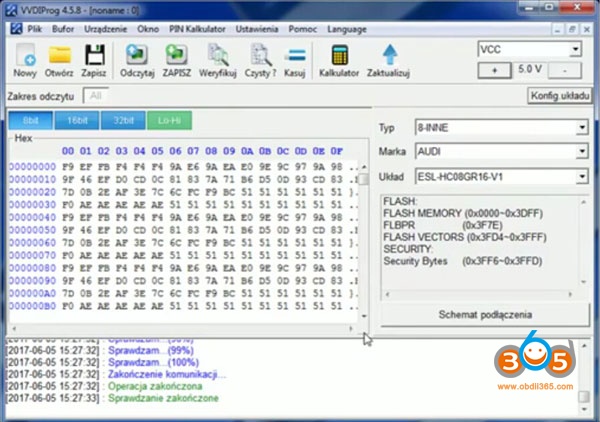
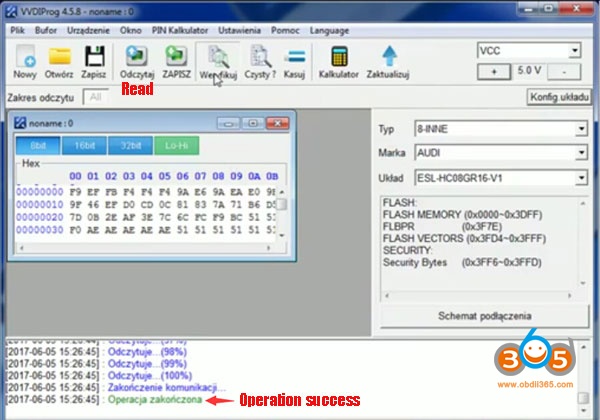
Save data
Reading process takes 2 minutes.
In conclusion:
Xprog is cheaper and faster than VVDIProg in Audi ELV 908GR16 reading.
http://blog.obdii365.com/2019/03/12/read-audi-elv-esl-hc908gr16-with-xprog-or-vvdi-prog/
Question:
It's time again to flush the brakes on my truck ('99 Discovery II). I've always done it the old fashioned way described in the RAVE and had good success, but I'd like to try another method this time. Does anyone have instructions about bleeding the brakes with the computer or a diagnostic tool? Do you just open the bleeder screw and activate the modulator one corner at a time until new brake fluid comes out? I'll welcome any pointers. Thanks. Answer: The Foxwell NT510 (now NT520 Pro) does an excellent job of modular bleeding and power bleeding the ABS with step by step instructions... Go to Special function->Braking bleeding->Modulator bleed and follow scanner prompts. Note: Need to register the device online, made an account, downloaded the foxwell program and updated your device with the appropriate Land Rover software. It is easy. 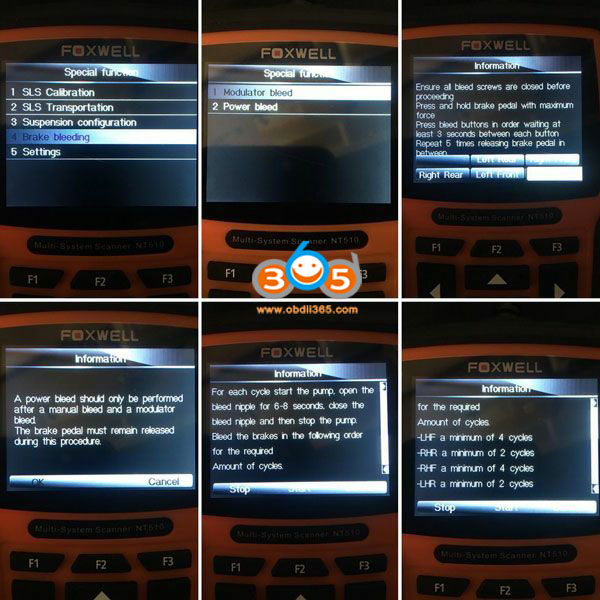
Manual: How to do GM Tech 2 clone scanner self test step-by-step
VCI self test
Keypad self test
CANdi self test
RS-232 self test
Follow the instruction in detail…
Part 1: Tech2 VCI self test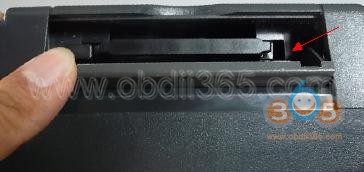
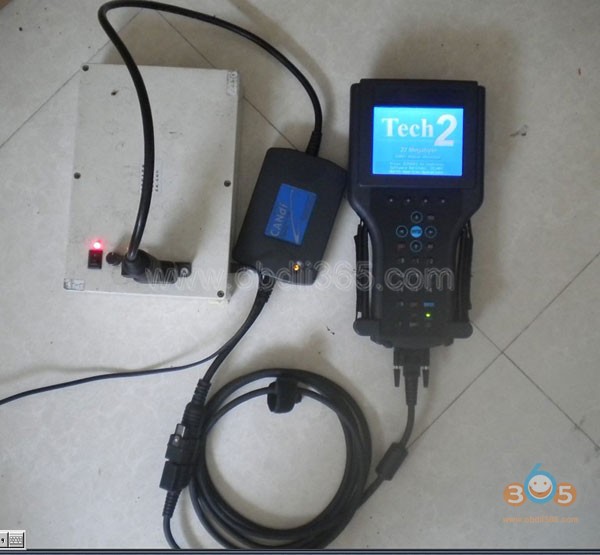
Insert the GM card
Connect the adapter and ready for the self test
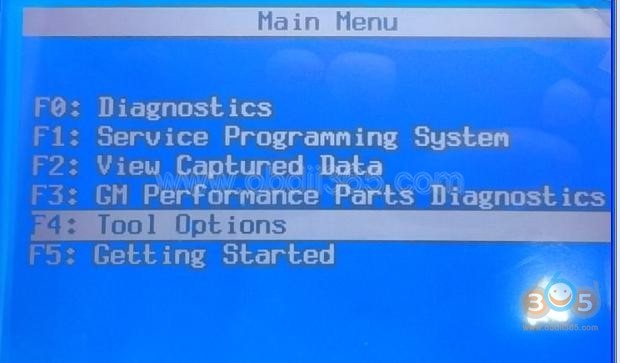
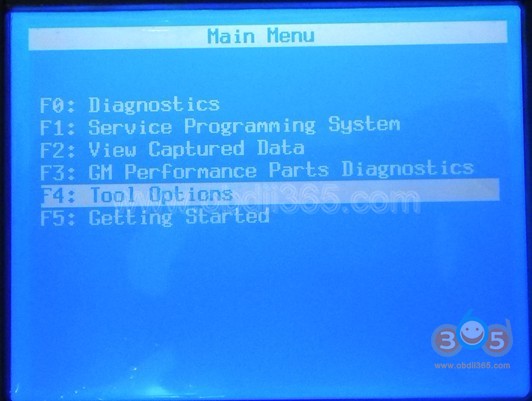
Go to the main menu and select F4: Tool options
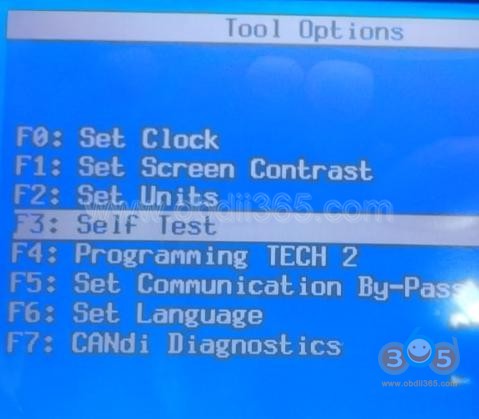
F3: Self test
Exit to continue
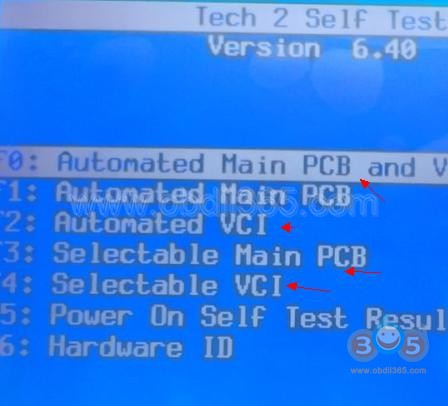
Select the function for self test
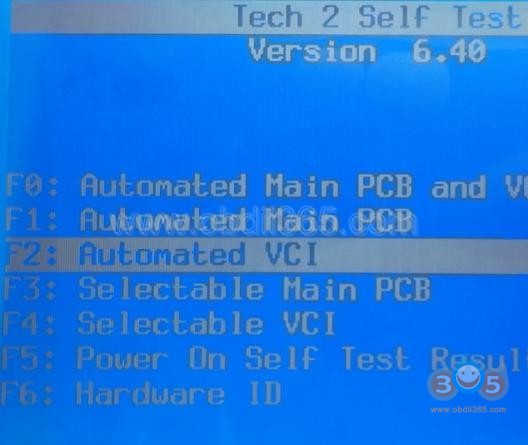
Here, press F2: Automated VCI
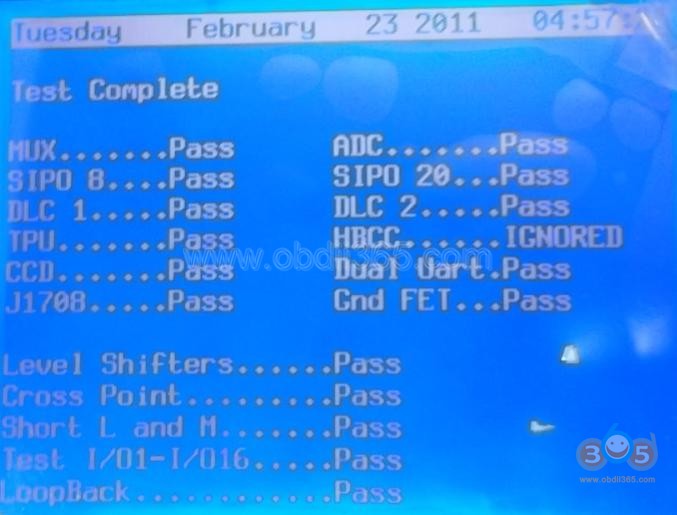
The VCI module self test result
Passed VCI selftest.
Part 2: GM Tech II Keypad self test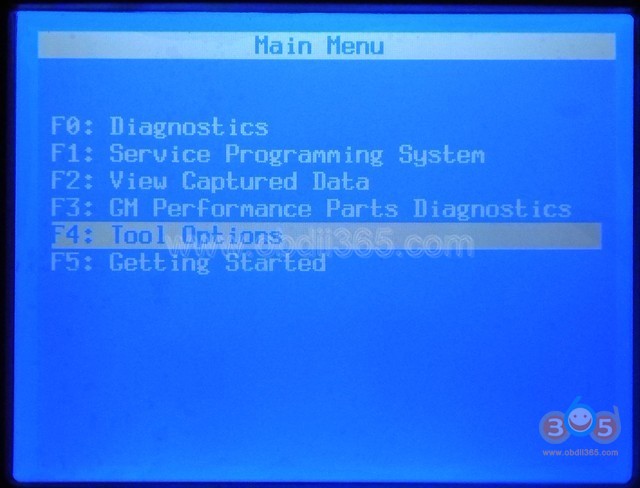
Go to the Tech 2 menu and select F4: Tool options

Then F3: Self test
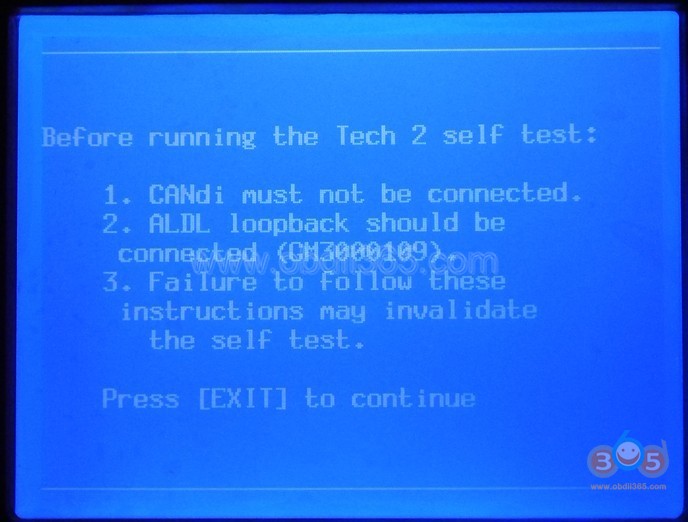
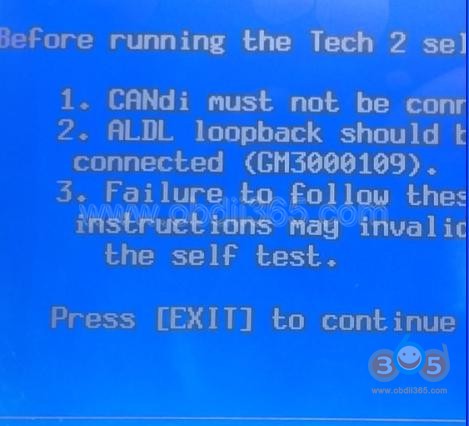
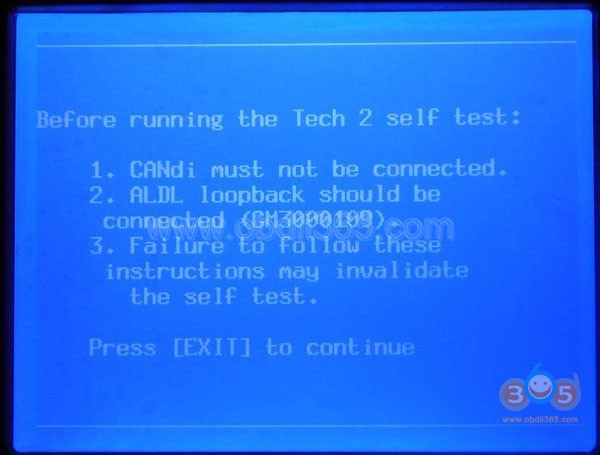
Before running the Tech 2 self test:
(1) Candi cannot be connected (2) Aldl loopback should be connected (GM3000109) (3) Failure to follow these instructions may invalidate the self test 
F3: Selectable main pcb
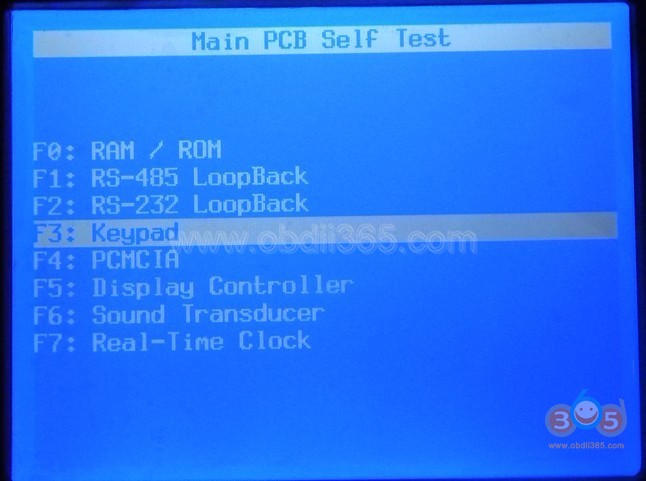
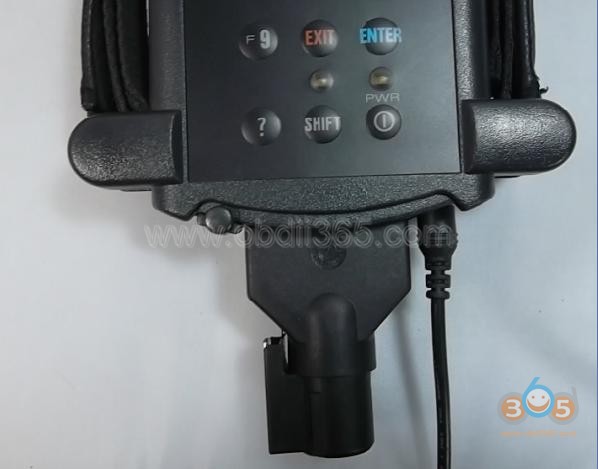
Press Keypad
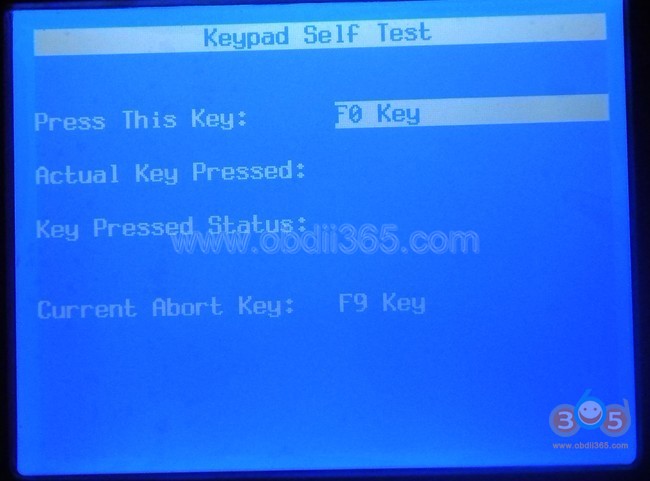
And press key
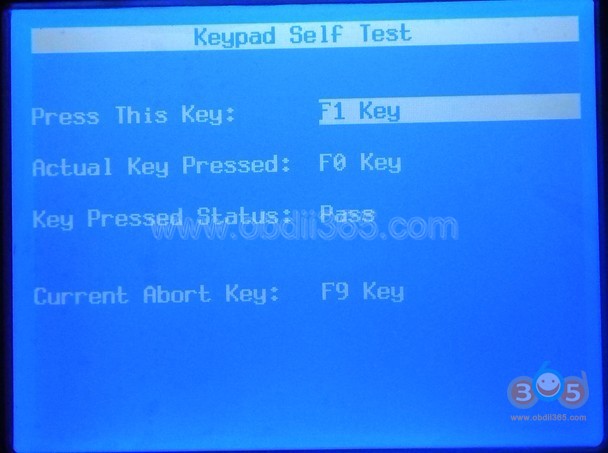
Note: In the last image, the actual key pressed is F0 and the final result is PASS – that’s normal
When you test the keypad, press F0-F1-F2-F3-F4-F5-F6-F7-F8-F9-EXIT-ENTER-in a good order! DO NOT SKIP ANY ONE.
Part 3: Tech 2 scan tool CANDI module self test
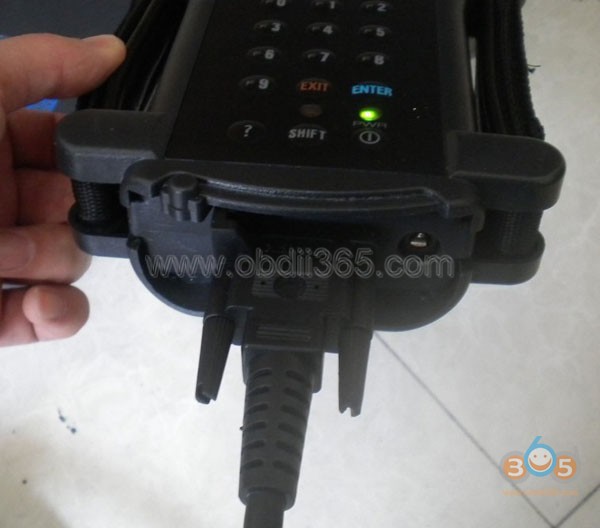
VERY IMPORTANT: Pls make sure of the connection of the OBD adapter, OBD main cable, CANdi module, Tech 2 scan tool and the power supply — ALL should be good
The power should be connected by the OBD port for CANdi self test.


F4: Tool options
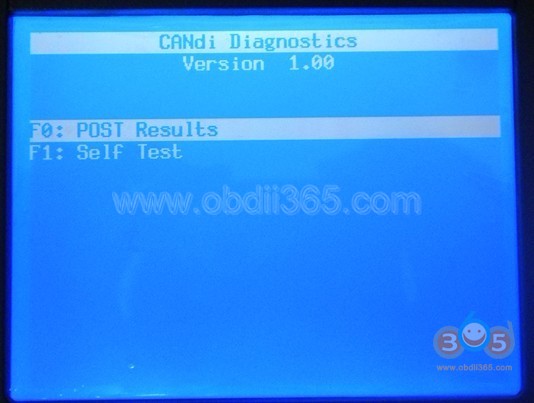
F7: CANdi diagnostics

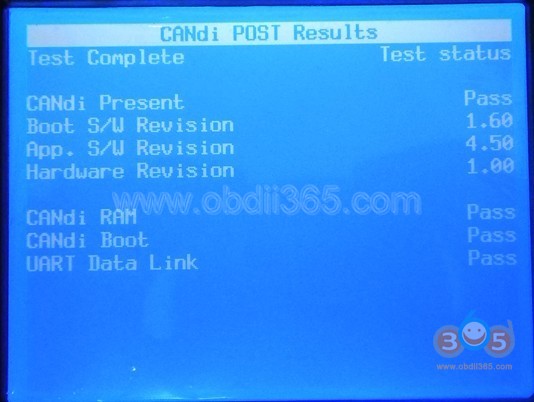
F0: POST result
Test status
F1: Self test
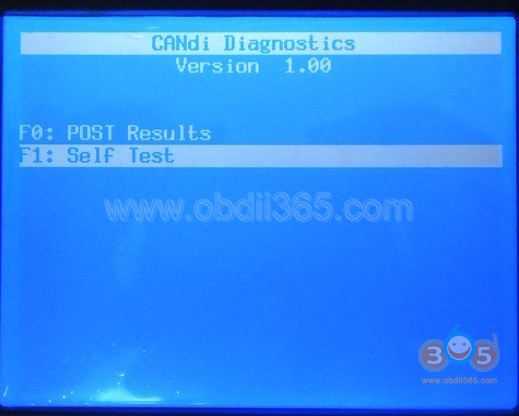
CANdi self test result

Pass selftest
There are two test results for CANdi module.
The one is Figure 8, and the other is Figure 10.
Part 4: GM Tech2 scanner RS232 self test
Check the connection before R232 self test

F4: Tool options 
F3: Self test
Exit to continue
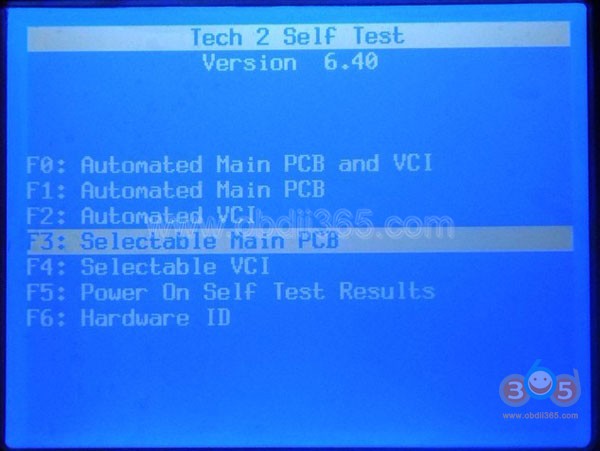
F3: Selectable main PCB

F2: Rs-232 loopback
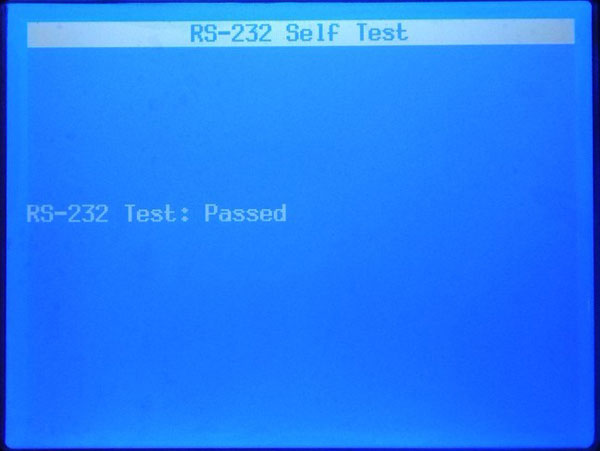
Rs232 test: Passed!
GM Tech 2 scanner tech support from http://www.obdii365.com/
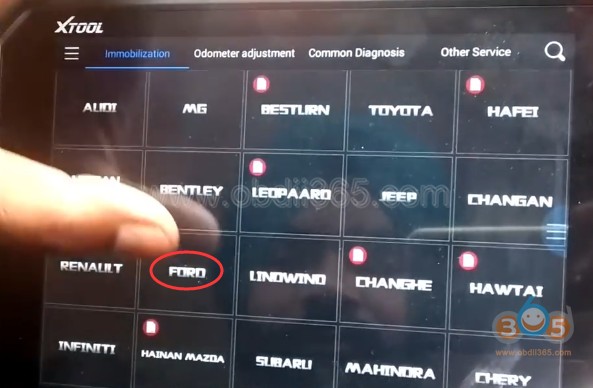
How-to: program Ford Ecosport Smart key in lost and copy case using Xtool X100 Pad 2 tablet.

Turn on ignition switch to ON position
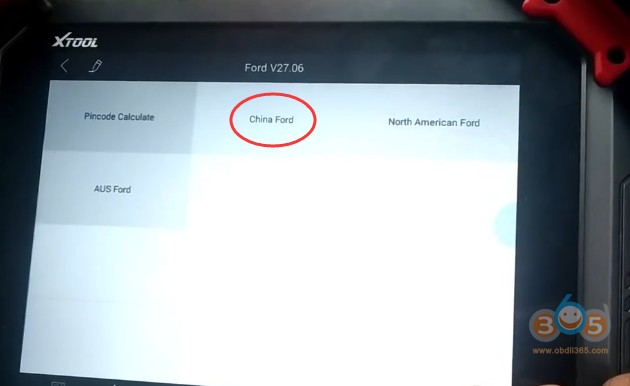
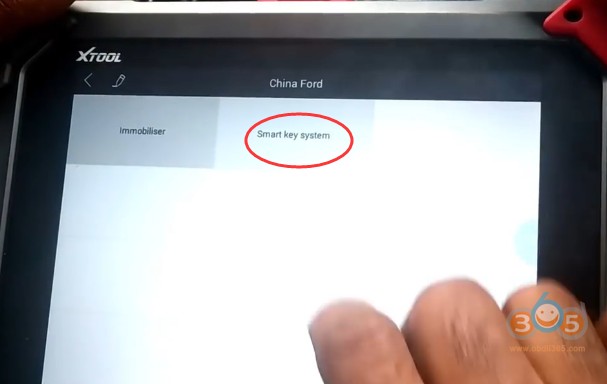
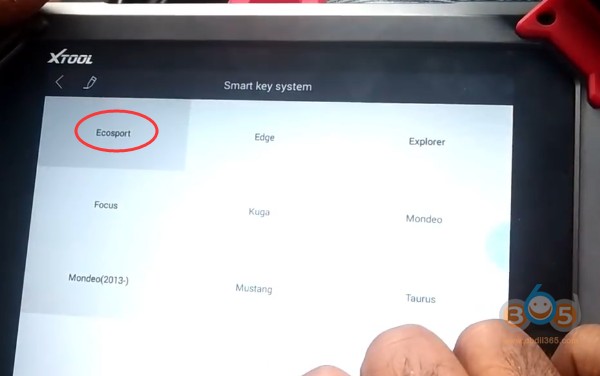
In X100 PAD2, select Immobilizer->Ford->China Ford->Smart Key System->EcoSport->Add a smart key

Reading security code
Switch the ignition OFF and wait for 10 seconds. Then switch the ignition ON, press OK
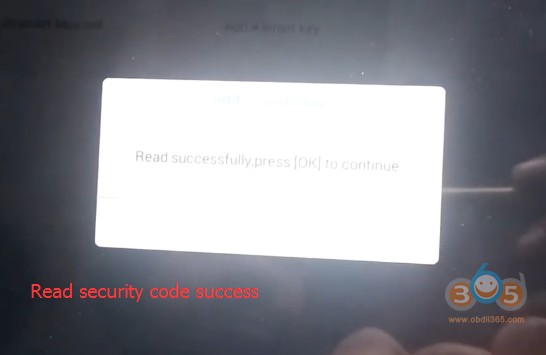
Read code success
Communicating
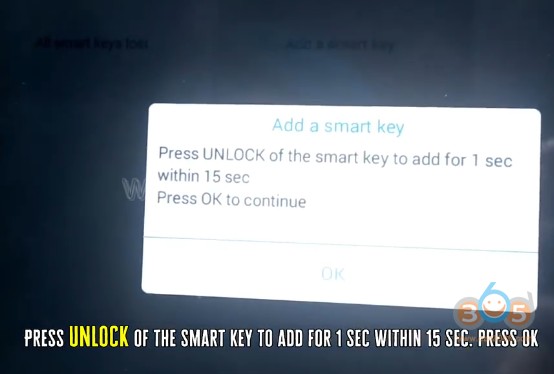
Press UNLOCK button of the smart key to add for 1 sec within 15 sec, press OK to continue
Program complete.

Now the smart key can start engine

Remote control works as well
Done.
http://www.key-programmer.org/2019/03/05/xtool-x100-pad2-program-ford-ecosport-smart-key/
Here is a quick guide on how to read in bootmode on EDC15P ECU's. I hope some of you can use this too, as there are only guides for this with MPPS.
It appears however, that it's not possible to write the ECU in bootmode using this feature. I have at least not had any luck with it. Step 1: Open the ECU I did this carefully with a screwdriver Step 2: Locate the 29f400 chip This is where the flash is stored Step 3: Fire up FGtech galletto v54 and go to Tools Boot Mode > Siemens-Infineon C167 > Bosch ME7 - 1 Micro - Flash 400 Boot Mode Step 4: Connect the ECU like this without putting on power yet (On my pictures i have made an EDC15 to OBD adapter, but basically the same): 
Step 5: Press Read ECU now follow the instructions (Put ground on pin 24 of the flash > Apply power > Remove ground after approx. 5 seconds) All gone well Galletto 4 should now read the flash. 


|
AuthorCategories |
 RSS Feed
