Question: Which key tool can I use for 8E transponders, from Audi A6L/Q7?
Answer: There are optional solutions. It can be done with some key programming tools.
VVDI2 commander and Zed-Full are two popular ones.
Noe that Xhorse VVDI2 is the best for it. Easy and fast!
But of course YMMV.
Here you go.
First, tested with with VVDI2 VAG
Second, tested with Zed-Full
In detail…
Audi 8E transponder done with VVDI2 Xhorse
Time: 2min
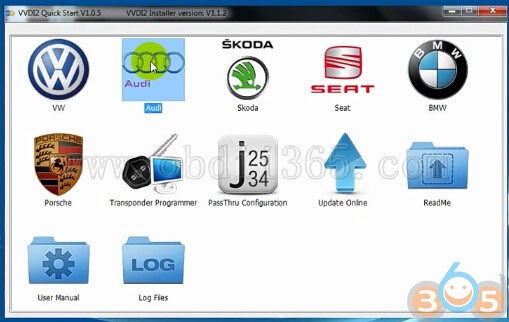
Run VVDI2 Audi
Switch ignition ON with the original key
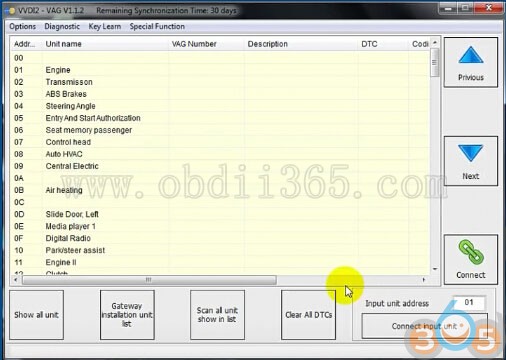
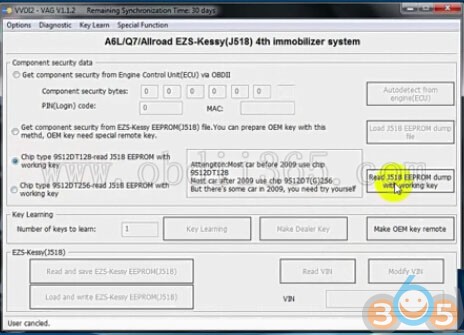
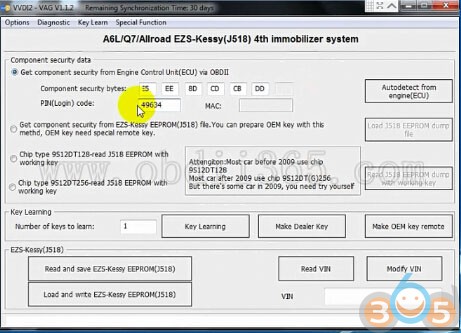
Key learn – 4th immobilizer system -Audi – A6L/Q7 allroad

Chip type 9S120t128- read J519 EEPROM with a working key
Read component security bites and PIN (login) code
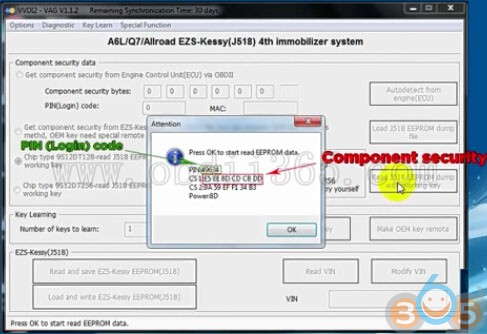
Switch ignition OFF and then switch ON
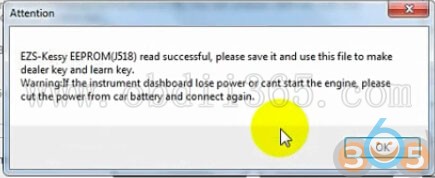
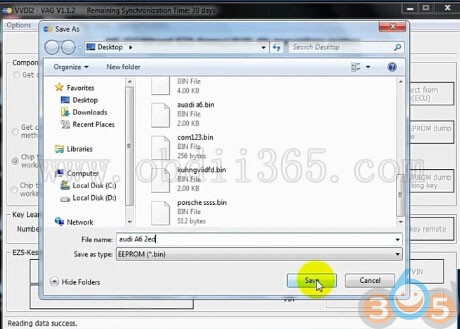
Successfully read EEPROM j518. save data
Warning: if the instrument dashboard loses power or cannot start the engine, please cut thepower from the car battery and connect again
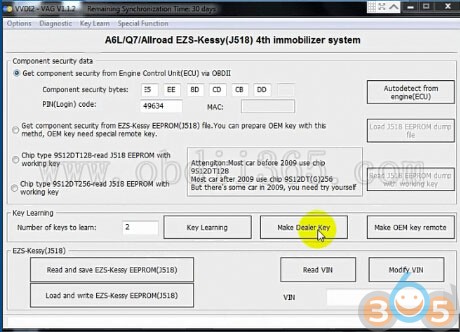
Write component security bites and PIN (login) code
Put the 8E transponder into VVDI2

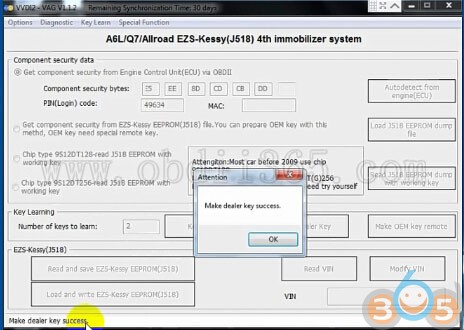
Vvdi2 is gonna make a dealer key
Reading data…
Successfully made a key
Key learning..
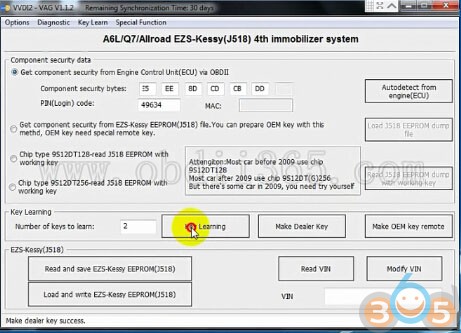
Switch the dealer key and switch on for at least 2 seconds.
The time for changing key smaller than 5 seconds
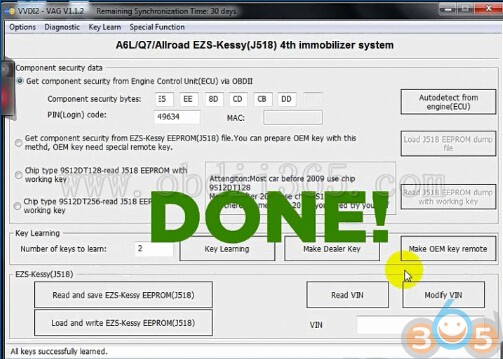
Press OK after all keys are learned
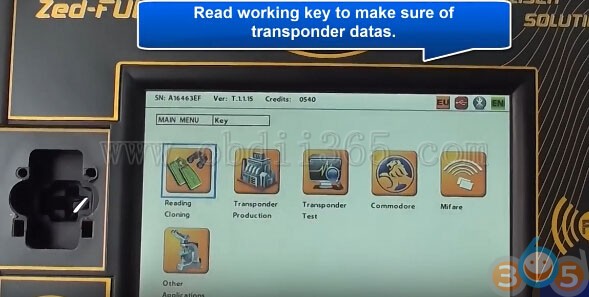
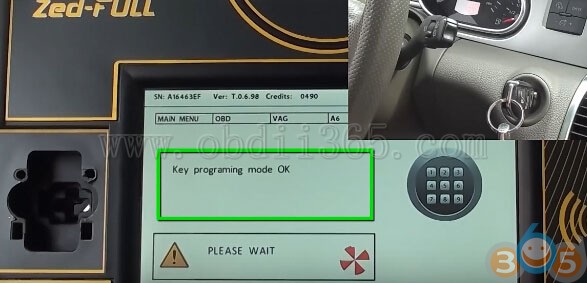
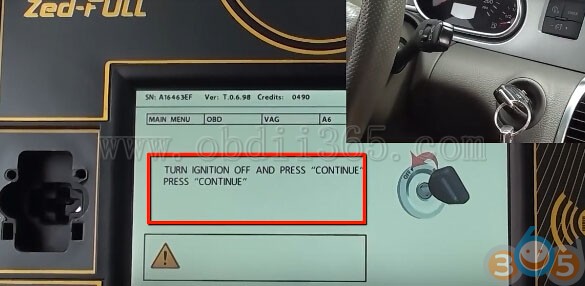
Audi 8E transponder done with Zed-Full
Time: 5min
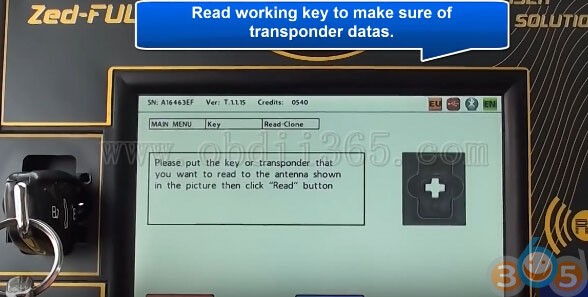
Read the working key to make sure of transponder data
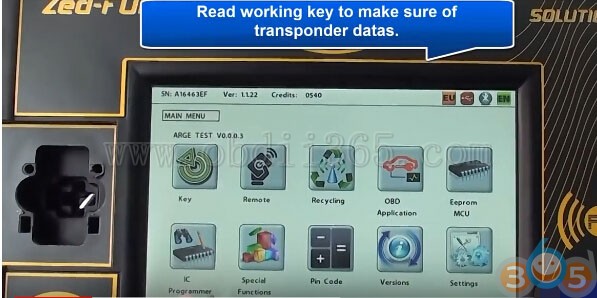
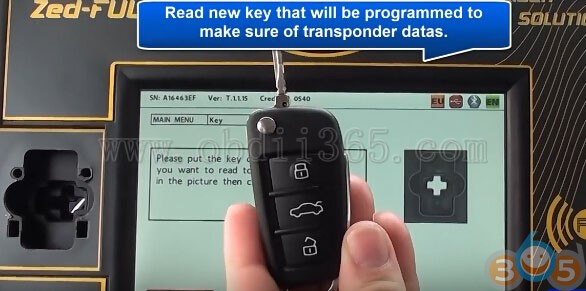
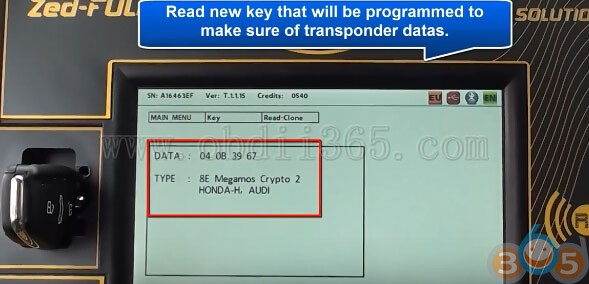
Read the new key to make sure of transponder data

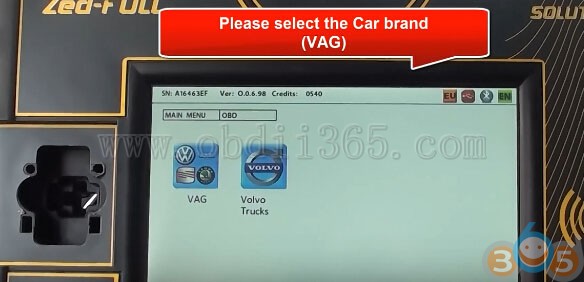
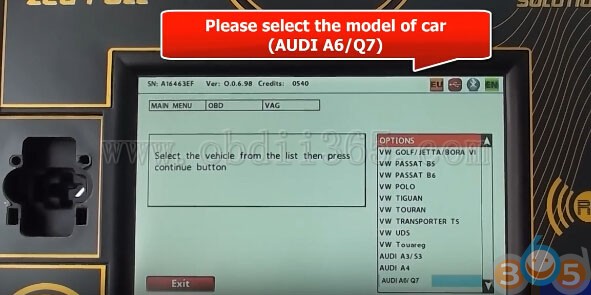
Select OBD application – VAG – model: AUDI A6/Q7

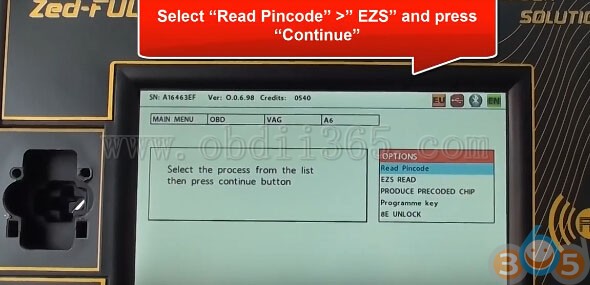
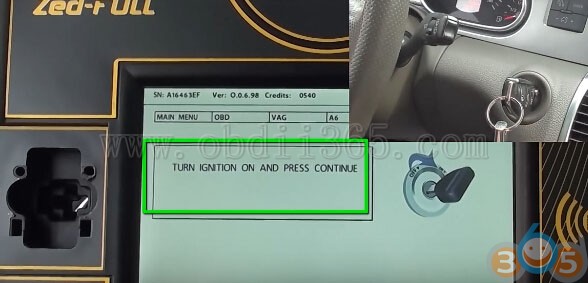
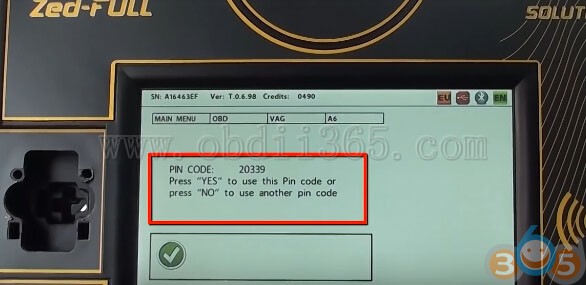
Select read pincode – ezs, read ezs to extract the last 2 digit


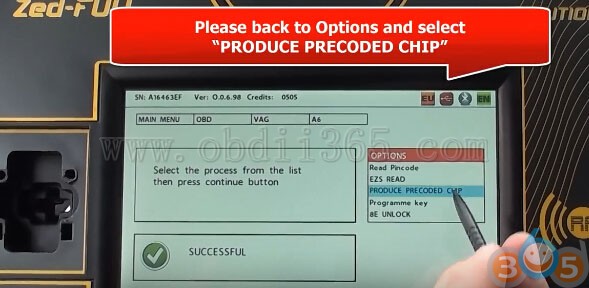
Procedure precode chip


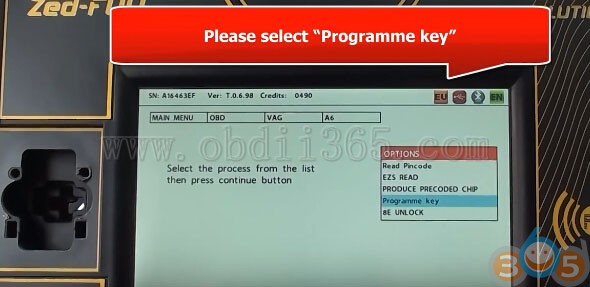
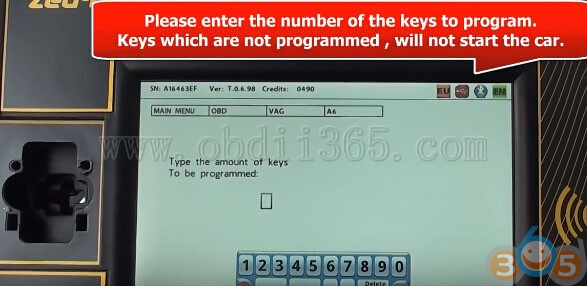
Program key
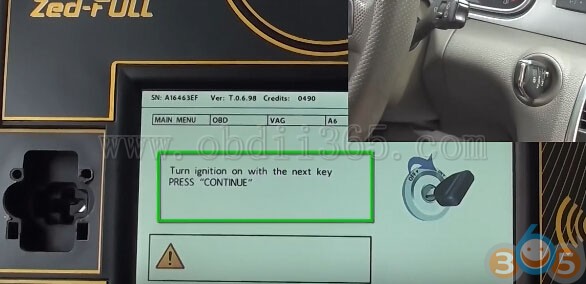


Test the new key

Done!
Conclusion:
Both VVDI2 and ZED-FULL can work for Audi A6/Q7 8E transponders.
But VVDI2 runs much faster than ZED-FULL! 2 times faster!
Note that you can also use JMD Handy Baby or Keydiy KD-X2 for 8E transponders.


 RSS Feed
